...
| Info |
|---|
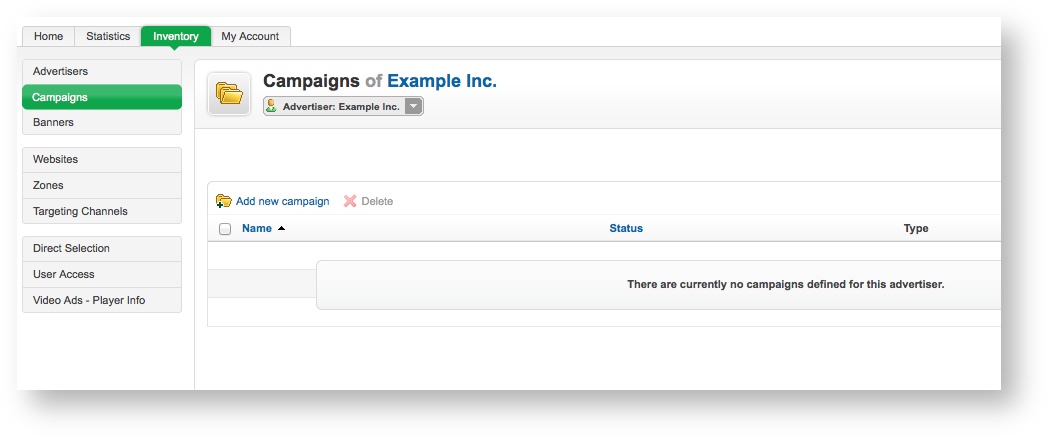
If you need to, use the drop down menu to select the appropriate advertiser. |
Click on the Add new campaign link. This will take you to the Add new campaign screen.
To create the new campaign, enter the campaign's Basic information. All of the Basic information fields are required:
- Name: The name of the campaign. It is recommended that you use a name that uniquely identifies the campaign, and will allow you to recognise the campaign quickly and easily.
- Campaign type:The type of campaign. Revive Adserver supports three campaign types. These are discussed below, along with their related additional options, which will be displayed once you have selected the campaign type.
| Panel | ||
|---|---|---|
| ||
|
| title | Remnant campaigns |
|---|
Contract campaigns are designed to try to deliver an evenly spaced, specified number of impressions per day, from the start of the campaign to the end. They are designed to allow advertisers to obtain a nice even delivery pattern over the targeted inventory, to maximise exposure over the campaign run.
Remnant campaigns are designed to use up any remaining inventory that has not been taken by Contract (Exclusive) or Contract
Once you have filled out the required fields, click on Save Changes to create the new campaign. You will be returned to the Inventory > Campaigns page, where you will be able to see your newly created campaign.


